
I have watched a lab burn through an entire case of vials in a single week because someone ordered the wrong cap liner. The septa were silicone, the autosampler needle was a blunt 23-gauge, and by day three every injection was coring out a plug of rubber into the sample. The chromatograms looked like a mountain range. Nobody could figure out why recovery on the early eluting peaks had dropped 18%. The fix cost about $40 in the right PTFE-lined caps. The investigation cost them four days and a re-run of 96 samples. That is the thing about 2ml vials: they are cheap, they are everywhere, and they are the single most common source of avoidable error in an HPLC or GC workflow. This guide is what I wish someone had handed that lab.
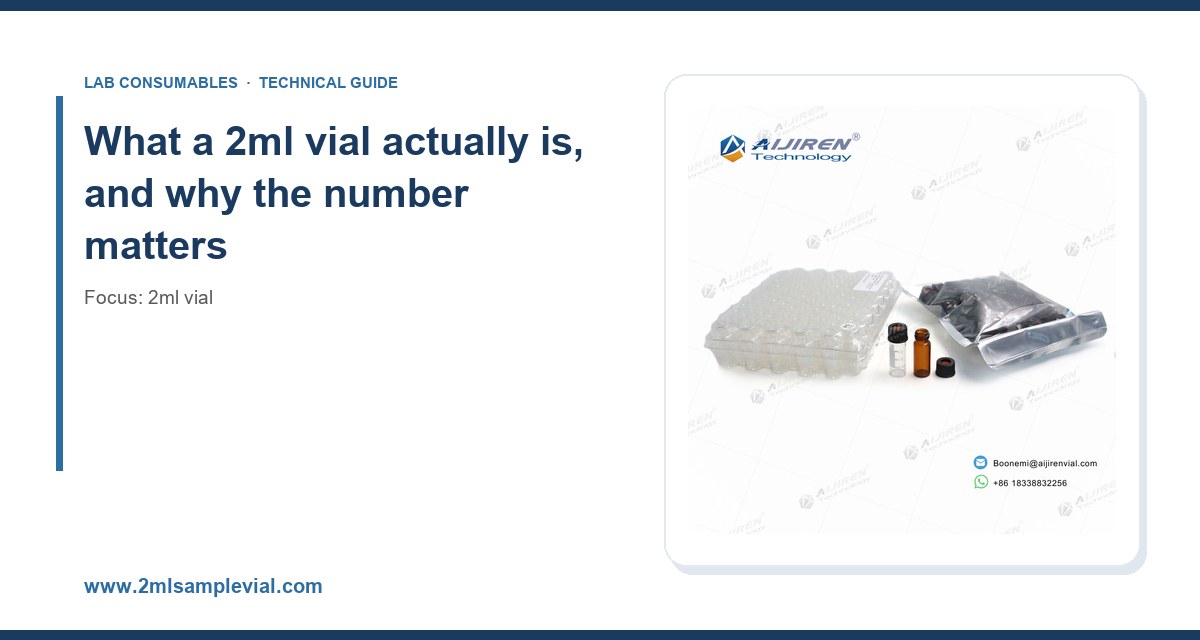
The “2ml” label refers to the nominal fill volume of a standard autosampler vial, not the physical capacity. A typical 12 x 32 mm vial holds roughly 1.5 to 1.8 ml when filled to a safe working level, leaving headspace for the septum and the needle. The 12 mm outside diameter and 32 mm height are the de facto standard across almost every autosampler made since the 1980s, from Agilent and Waters to Shimadzu and Thermo. If you are buying for a modern LC or GC autosampler, you are almost certainly buying 12 x 32 mm.
The dimensions are not arbitrary. The 32 mm height sets the needle penetration depth. The 12 mm diameter sets the gripper geometry on robotic autosamplers. The 8 mm neck (on crimp and screw-thread versions) sets the septa and cap dimensions. Get any of these wrong and the vial either will not seat in the tray or will not be picked up by the gripper. I have seen a shipment of “2ml vials” arrive with a 32.5 mm height that was 0.5 mm out of spec. It jammed a 120-position tray twice before anyone measured it with calipers. Always check the drawing, not the marketing name.
If you are sourcing at volume, the 2ml vial range at 2mlsamplevial.com covers the standard 12 x 32 mm formats in clear and amber glass, plus the screw-thread and crimp variants that dominate modern workflows. But before you click buy, you need to understand the four decisions that actually matter: glass grade, closure type, septum material, and volume/geometry.
Glass grade: USP Type I versus Type III, and when it matters
Almost all 2ml autosampler vials are made from borosilicate glass. The question is which USP grade. USP Type I borosilicate (typically 33 expansion, sometimes called 51 expansion for lower-alkali formulations) has very low extractables and is the default for anything involving pH-sensitive analytes, trace metals, or low-level quantification. USP Type III soda-lime glass is cheaper, has higher alkali leaching, and is fine for high-concentration work, many GC applications, and short holding times.
Here is the practical rule I use: if your method has a limit of quantification below about 1 µg/mL, or if your analytes are amines, phenols, or anything that ionizes, pay for Type I. The cost difference is pennies per vial. The cost of a failed calibration curve because your glass is leaching sodium into a buffered mobile phase is not pennies.
There is a second glass variable that gets ignored: deactivation. Many analytes, especially proteins, peptides, and basic drugs, adsorb to bare glass surfaces. Silanized (deactivated) vials have a hydrophobic surface treatment that cuts adsorption. For a 0.1 µg/mL solution of a basic compound, the difference between a silanized and a bare vial can be 10 to 30% loss of signal on the first injection. If you run low-concentration basic analytes, buy deactivated vials and stop wondering why your first standard is always low.
Amber versus clear
Amber glass blocks UV and visible light below about 500 nm. If your analytes are photolabile (vitamins, many pharmaceuticals, some pesticides), use amber. The trade-off is that you cannot visually inspect the sample for particulates or phase separation. For methods where visual inspection matters, clear vials with a foil-wrapped autosampler tray are a better compromise. Do not assume amber is “safer” across the board; it is a specific tool for a specific problem.
Closure types: crimp, screw-thread, and snap
This is where most buying mistakes happen. There are three closure families, and they are not interchangeable.
Crimp caps
Crimp closures use an aluminum seal compressed over the vial neck with a crimping tool. They give the best seal integrity and the lowest headspace, which is why they dominate GC headspace analysis and long-term storage. The catch is that crimping is a skill. A bad crimp leaks; an over-crimp cracks the neck or deforms the septum. The target is a crimp that is tight enough to hold pressure but leaves the septum flat and undistorted.
Crimp dimensions follow the 11 mm and 20 mm standards. For 12 x 32 mm vials, the 11 mm crimp is standard. If you are buying crimp vials, buy a calibrated crimper and check the crimp with a go/no-go gauge. I have seen labs crimp by feel for years and wonder why headspace RSDs were 6 to 8% instead of the 2% they should be.
Screw-thread caps
Screw-thread closures (often 9 mm or 10-425 thread) are the modern default for LC autosamplers. They are reusable in principle, hand-tightenable, and forgiving. The standard thread for 12 x 32 mm LC vials is 9 mm (the 9-425 format), with a 10-425 variant used by some instrument makers. The cap is usually polypropylene with a septum bonded or pressed in.
The failure mode here is under-torquing. A screw cap that is only finger-tight will leak under the slight positive pressure of an autosampler needle insertion, and it will evaporate over a long run. The practical target is about 0.5 to 1.0 N·m of torque, which is roughly “snug plus a quarter turn” by hand. Do not over-torque: past about 1.5 N·m you start to deform the septum and can crack the cap. If you run a 96-well plate over 24 hours, torque consistency matters more than you think. A torque screwdriver set to 0.6 N·m is a $60 purchase that eliminates a whole class of evaporation errors.
Snap caps
Snap or press-fit caps are the fastest to use and the least reliable for long runs. They are fine for short autosampler runs and for sample prep where the vial is consumed within hours. They are not appropriate for overnight runs, headspace analysis, or anything where evaporation loss matters. Use them for what they are: convenience, not containment.
Septum material: the decision that quietly ruins your data
The septum is the part of the vial that touches your sample and your needle. It is also the part most buyers ignore. Here is the short version of the materials you will encounter.
- Silicone: excellent resealability, high gas permeability, poor solvent resistance. Fine for aqueous samples and short runs. Will swell and degrade in contact with nonpolar solvents like hexane or toluene.
- PTFE-faced silicone: a silicone core with a thin PTFE film on the sample side. The PTFE gives solvent resistance and low extractables; the silicone gives resealability. This is the workhorse for LC. The PTFE face must be oriented toward the sample. I have seen entire plates loaded upside down. The result is silicone extractables in every injection and a baseline that will not settle.
- PTFE/silicone laminated: similar, with the PTFE bonded across the full face. Better chemical resistance, slightly harder needle penetration.
- Butyl rubber: low gas permeability, used in headspace and some GC applications. Poor resealability after multiple punctures.
- Natural rubber / EPDM: cheap, high extractables, avoid for trace analysis.
The number that matters for septa is puncture count before failure. A good PTFE-faced silicone septum will survive 10 to 20 punctures with a sharp needle before coring becomes a problem. A cheap silicone septum may fail at 3 to 5. If your autosampler uses a blunt or beveled needle, halve those numbers. If you are running a method with multiple injections per vial, track puncture count and replace caps on a schedule, not on a hunch.
Needle gauge and septum compatibility
A 22-gauge needle (about 0.72 mm OD) is the common autosampler size. A 26-gauge needle (0.46 mm) is gentler on the septum but more prone to bending. The septum core diameter should be large enough that the needle enters the center reliably. The 11 mm septum on a crimp cap gives roughly 8 mm of usable center. If your autosampler alignment is even slightly off, you will be puncturing the aluminum ring instead of the septum, which produces metal shavings in the sample. This is a real failure mode I have chased more than once.
For a broader look at how septa and caps fit into the rest of the consumables stack, the HPLC consumables catalog at hplcconsumable.com is organized by closure format, which makes cross-referencing easier than guessing from a part number.
Volume, geometry, and the insert question
A 2ml vial is not always the right choice. If your sample volume is under about 150 µL, a standard 2ml vial leaves the needle unable to reach the liquid, or forces the autosampler to use a bottom-sensing mode that is slower and less reliable. The solutions are conical inserts or a smaller vial format.
Inserts are glass or plastic cups that sit inside the 2ml vial and concentrate the sample at the bottom. A typical 250 µL insert has a conical interior that lets a needle reach the last 20 to 30 µL. The trade-off is that inserts add a second glass surface, a second set of extractables, and an assembly step. For high-throughput work, pre-assembled insert vials save time but cost more.
Conical-bottom vials are a middle path: the vial itself has an internal cone, so no insert is needed. They are my default for LC work where sample volume is between 100 and 500 µL. They cost slightly more than flat-bottom vials and eliminate a whole assembly step.
The dimension that trips people up is residual volume. A flat-bottom 2ml vial with a standard autosampler needle leaves 50 to 100 µL unreachable. A conical vial leaves 10 to 20 µL. If your method requires a 50 µL injection from a 200 µL sample, the flat-bottom vial is a silent failure waiting to happen.
Chemical compatibility and temperature ratings
Glass is inert to almost everything, but the cap and septum are not. The polypropylene cap softens above about 120 °C and is not suitable for autoclaving beyond that. Silicone septa are rated to about 200 °C but degrade faster with repeated heat cycles. PTFE is good to 260 °C continuous. If you are running GC inlet temperatures at 250 to 300 °C, the septum is the limiting component, not the glass.
For solvent compatibility, the PTFE face handles almost all common HPLC solvents (acetonitrile, methanol, water, THF, DMSO). Silicone alone will swell in DMSO and in chlorinated solvents. If your method uses DMSO as a sample solvent, which is common for compound libraries, use PTFE-faced septa and expect slightly stiffer needle penetration.
Temperature also affects volume. A 2ml aqueous sample expands about 0.02% per °C. That sounds trivial until you fill a vial to the very top at 4 °C and then run it in a 25 °C autosampler tray. The expansion has nowhere to go and the cap lifts. Leave at least 10% headspace and this problem disappears.
Autosampler compatibility: the checklist that saves a tray jam
Before you commit to a part number, run this checklist against your instrument. I keep it taped inside the consumables cabinet.
- Vial dimensions: confirm 12 x 32 mm (or the specific format your tray requires). Measure a sample with calipers if the drawing is not published.
- Closure format: crimp (11 mm), screw (9 mm or 10-425), or snap. Confirm against the autosampler manual, not the sales rep’s memory.
- Septum orientation: PTFE face toward the sample. Verify on the first vial of every new lot.
- Needle gauge and type: sharp versus blunt, 22G versus 26G. Match septum hardness to needle.
- Residual volume: flat, conical, or insert. Confirm the needle can reach the liquid at your injection volume.
- Temperature range: tray temperature, sample temperature, and any heating steps. Check cap and septum ratings.
- Chemical compatibility: sample solvent versus septum material. DMSO and chlorinated solvents need PTFE.
- Certification: does the method require USP <661> or <381> compliance, or a certificate of analysis? Ask before you buy, not after.
- Lot traceability: for regulated work, confirm the supplier provides lot numbers on the box and a CoA on request.
For instrument-specific geometry, the manufacturer documentation is the only reliable source. Agilent publishes autosampler vial drawings and compatibility tables for its LC and GC systems at Agilent chromatography consumables and columns, and Thermo Fisher maintains similar reference material at Thermo Fisher chromatography and sample handling. Cross-check the part number against the drawing before you place a bulk order.
Cleaning, reuse, and the economics of “cheap”
Can you reuse 2ml vials? Technically yes, for some applications. Practically, I advise against it for anything quantitative. The reasons are cumulative: glass surfaces develop micro-cracks after washing, septa deform permanently after the first puncture, and detergent residue is a persistent extractable. A washed vial that looks clean can still carry 5 to 10 ng of the previous sample on its surface, which is fatal at trace levels.
The economics are also less favorable than they look. A standard 2ml clear vial with a screw cap costs somewhere in the range of $0.15 to $0.40 depending on volume and certification. The labor to wash, dry, and re-cap a vial is at least a minute, which at a loaded lab rate is more than the vial costs. Reuse makes sense only for non-critical, high-concentration, internal work where cross-contamination is not a concern.
What does pay off is buying in the right quantity and the right format. Buying 10,000 vials at a time drops the unit price by 20 to 40% versus 1,000-piece boxes, and it eliminates the mid-project reorder that always seems to arrive a day late. If you are procuring for a multi-site lab, an OEM vial program at oemsamplevials.com lets you standardize the part number and packaging across sites, which matters more than most procurement teams realize when they are reconciling inventories.
Regulatory and certification considerations
If your work falls under a regulated method, the vial is part of the method. USP <661> covers glass containers and their chemical resistance. USP <381> covers elastomeric closures and their suitability for injection. EPA methods under EPA SW-846 test methods for waste and materials specify vial and septum requirements for volatile and semivolatile analysis, particularly for headspace and purge-and-trap work. If you are running SW-846 methods, use the specified septum material; substituting a “compatible” part can invalidate the run.
For method development and troubleshooting, the technical notes at Restek technical resources for chromatography are unusually practical on septum bleed, coring, and vial-related artifacts. They are worth bookmarking if you run GC, where septum contributions to baseline noise are a constant fight.
Ask your supplier for a certificate of analysis that covers glass grade, dimensional tolerance, and septum material. A supplier who cannot produce a CoA on request is a supplier who cannot support a regulated method. For a broader view of qualified suppliers, the chromatography supplier directory at chromatographysupplier.com lists vendors by consumables category, which is a reasonable starting point for a bid list.
Troubleshooting checklist: symptoms and causes
When a run goes wrong and you suspect the vial, work through this list before you re-run anything.
- Baseline drift or rising noise: septum bleed or extractables. Check septum material and orientation. Replace with PTFE-faced silicone.
- Ghost peaks at consistent retention times: carryover from a previous sample on the glass surface. Switch to a new vial lot and check the wash solvent.
- Low response on the first injection only: adsorption on bare glass. Use deactivated vials, especially for basic analytes.
- Erratic injection volumes: needle not reaching the liquid, or a partially collapsed septum. Check residual volume and cap torque.
- Visible particles in the vial: septum coring. Inspect the needle tip and replace caps more frequently. A blunt needle accelerates this.
- Evaporation over a long run: under-torqued screw cap or a snap cap used where a screw cap belongs. Torque to 0.6 N·m and re-check.
- Tray jams: out-of-spec vial height or diameter. Measure with calipers and reject the lot.
- Peak area RSD above 2%: work through volume, septum, and torque in that order. In my experience, 70% of RSD problems trace to the vial, not the instrument.
A concrete recommendation
If you want a starting configuration that works for the majority of modern LC and GC workflows, here is what I would order:
- Vial: 12 x 32 mm, USP Type I clear borosilicate, conical bottom, 2ml nominal, deactivated for basic analytes.
- Closure: 9 mm screw-thread polypropylene cap with a PTFE-faced silicone septum, PTFE face toward the sample.
- Torque: 0.6 N·m, verified with a torque screwdriver on the first plate of each lot.
- Puncture budget: replace caps after 10 punctures with a sharp 22G needle, 5 with a blunt needle.
- Temperature: keep autosampler tray at or below 25 °C for volatile analytes; confirm septum rating against any heating step.
- Headspace: fill to no more than 80% of nominal volume.
- Certification: request a CoA covering glass grade, dimensions, and septum material with every lot.
For headspace GC or long-term storage, switch to 11 mm crimp closures and a calibrated crimper. For high-throughput screening with short runs and aqueous samples, snap caps are acceptable. For trace metals or ionizable analytes, stay with Type I glass and deactivated surfaces. The pattern is consistent: the vial is cheap, the failure is expensive, and the specification that prevents the failure is written on the drawing and the CoA, not on the box.
The one habit that has saved me the most time over the years is measuring the first vial of every new lot with calipers and checking the septum orientation before the plate goes on the instrument. It takes 90 seconds. It has caught out-of-spec shipments, upside-down septa, and one memorable batch of caps with a septum that had been pressed in at an angle. None of those would have been visible from the packaging. All of them would have cost a re-run. Buy on the drawing, verify on receipt, and treat the septum as the analytical component it is.
References & further reading
Related resources from our lab consumables network:
- 2Ml Vial at 2mlsamplevial.com
- Hplc Consumables at hplcconsumable.com
- Chromatography Supplier at chromatographysupplier.com
- Oem Vial at oemsamplevials.com
External references and standards: