
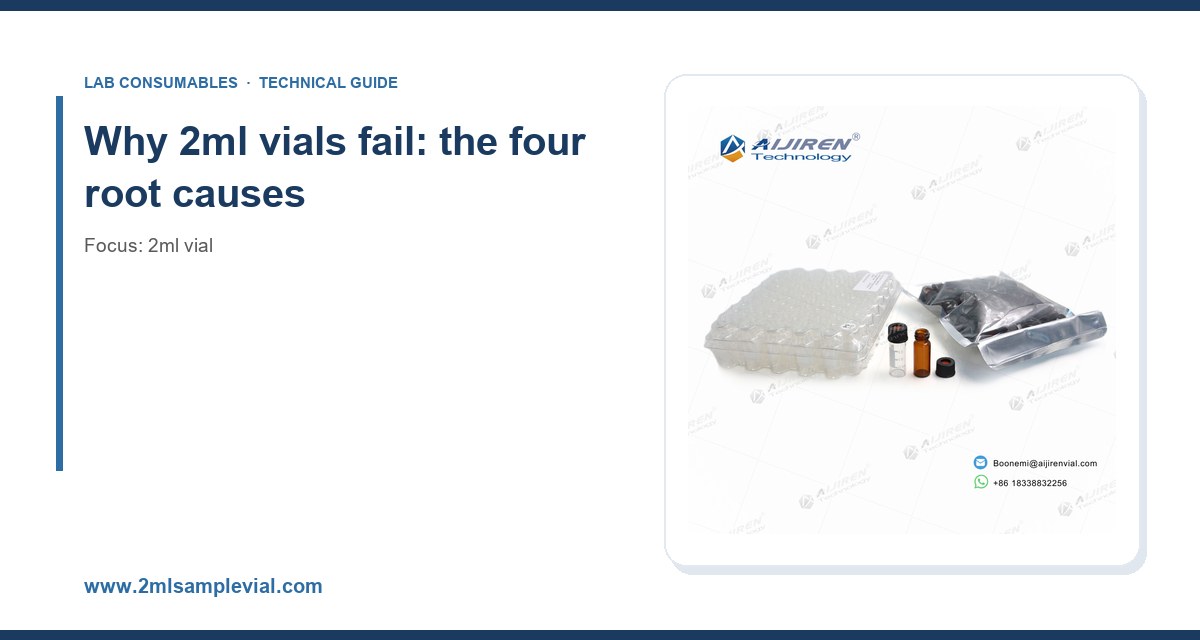
I have watched a lot of 2ml vials fail in ways that never show up on a spec sheet. A crimp that looked perfect at the bench but leaked at 4 °C overnight. A septum that held 40 injections on the autosampler and then corkscrewed into the needle. A batch of vials that passed incoming QC and still gave 3.8% RSD on a method that normally runs under 0.5%. None of these were exotic. They were ordinary failures with ordinary causes, and almost every one was preventable with a few concrete numbers and a bit of discipline at the bench.
This article is about those failures: what actually goes wrong with 2ml vials in daily use, why it happens, and what to change. I am writing it for labs running HPLC, GC, LC-MS, and sample storage on the same shelf, because most of the failures I see come from mixing those use cases without adjusting the consumable. If you buy vials, septa, and caps as one commodity rather than three components with separate tolerances, you will meet every failure mode below eventually.
Every failure I have dealt with traces back to one of four root causes. Separating them saves time, because the fix is different for each.
- Dimensional mismatch between vial, septum, and cap. The 2ml vial is a system, not a part. A 12 x 32 mm vial with a 6 mm opening needs a septum sized for that opening and a cap with the right crimp or thread geometry. Mixing suppliers across those three components is the single most common cause of leaks and needle damage.
- Material incompatibility with the sample, the diluent, or the sterilization method. Septum silicone, PTFE facing, and cap liners each react differently to acids, bases, and solvents.
- Operator technique at crimping, capping, and injection. Crimp height and torque are measurable, and most labs never measure them.
- Storage and handling conditions outside the component’s rating: temperature, light, and time on the autosampler tray.
Before going further, it helps to be precise about what “2ml” means. A standard 2ml vial is nominally 12 mm outside diameter by 32 mm tall, with a 6 mm neck opening, holding roughly 1.5 to 1.8 ml working volume depending on fill height and neck geometry. That 32 mm height is what lets it sit in standard autosampler trays and fraction collectors. Any deviation from 12 x 32 mm, even 0.3 mm on diameter, will cause tray jams on some platforms. Check your autosampler’s tray specification before you accept a “2ml” vial that is actually 11.6 mm or 12.4 mm.
Failure 1: septum coring and needle damage
What it looks like
You see a small disc of septum material in the vial, or a needle that bends or blocks after a few injections. Chromatograms show ghost peaks, carryover, or a sudden loss of sensitivity. On LC-MS, a cored septum can put silicone oligomers into the source and cost you a cleaning cycle.
Root cause
Septum coring comes from three things: needle gauge, septum hardness, and injection depth. A 22-gauge needle (0.72 mm OD) through a soft silicone septum at high speed will punch a plug rather than pierce a slit. Pre-slit septa reduce coring but are not a cure if the needle is dull or misaligned. The other factor is septum thickness and durometer. Standard silicone septa run around 45 to 55 Shore A. A softer septum seals better at low pressure but cores more easily. A harder septum (60 Shore A and up) resists coring but needs more cap force to seal.
Prevention, with numbers
- Use pre-slit septa for autosamplers running more than 50 injections per vial. They cut coring dramatically and cost a few cents more per cap.
- Match needle gauge to septum. For 22-gauge needles, a 1.0 mm thick silicone septum with PTFE facing is a safe default. For 26-gauge or smaller, you need a softer septum or a pre-slit design.
- Set injection depth so the needle tip sits 1 to 2 mm above the vial bottom, not touching it. Bottom-contact injections accelerate needle wear and coring.
- Replace autosampler needles on a schedule, not on failure. A dull needle cores septa even when the septum is correct. Most labs I know replace at 5,000 to 10,000 injections depending on sample matrix.
- Keep septum puncture counts under 50 to 100 per septum for standard silicone, and under 100 to 150 for pre-slit PTFE-faced septa. Beyond that, the seal degrades and coring risk rises.
If you are sourcing septa and caps separately, buy them as a matched set from one supplier. The HPLC consumables catalog at hplcconsumable.com lists septum thickness and durometer alongside cap geometry, which is the information you actually need to make this decision.
Failure 2: crimp cap leaks and evaporation
What it looks like
Sample volume drops over a run. Concentrations drift upward on long sequences. You find a wet ring on the autosampler tray under one position. On a 12-hour sequence at 25 °C, a properly crimped vial loses less than 0.5% of its volume to evaporation. A badly crimped one can lose 2 to 5%, which is enough to fail a potency assay.
Root cause
Crimp quality is a function of crimp height, crimp diameter, and cap material. The standard 11 mm crimp cap for a 12 x 32 mm vial has a target crimp height of about 5.5 to 6.0 mm and a crimp diameter of about 11.0 to 11.2 mm after crimping. Too tall and the seal does not compress the septum. Too short and you crush the septum or crack the neck. Off-center crimping produces a partial seal that passes a visual check and fails overnight.
The other cause is cap material. Aluminum caps with a soft temper crimp well and hold. Hard-temper aluminum and some tinplate caps need more force and are less forgiving. I have seen labs switch to a cheaper cap and see evaporation failures within a week without changing anything else.
Prevention, with numbers
- Use a calibrated crimper and check crimp height with a gauge every 100 caps or at the start of each shift. Target 5.5 to 6.0 mm.
- Set crimper jaw pressure so the cap deforms without crushing the septum. A crushed septum shows a visible ring and will leak at the seal face.
- Do a gravimetric leak check: fill 10 vials with 1.0 ml of water, crimp, weigh, hold at 40 °C for 24 hours, reweigh. Loss above 1% means your crimp setup is wrong.
- For long sequences, use pre-slit PTFE/silicone septa and keep the tray at or below 10 °C if the method allows. Cold trays reduce evaporation but check that your sample does not precipitate.
- Never re-crimp a cap. Once crimped, the aluminum work-hardens and the seal is unreliable. Decap and use a new cap.
Failure 3: thread cap cross-threading and torque problems
What it looks like
The cap goes on crooked, the vial leaks at the thread, or the cap backs off during the run. On a robotic capper, cross-threading causes jams and lost positions. On manual capping, it causes a slow leak that only shows up on the last injection of the day.
Root cause
Threaded 9 mm and 10 mm caps are more forgiving than crimp caps in some ways and less forgiving in others. The failure is usually cross-threading: the cap is started at an angle and the first thread jumps. The second cause is over-torque, which distorts the cap and the vial neck and creates a leak path. The third is under-torque, which leaves the septum uncompressed.
Prevention, with numbers
- Target a capping torque of 0.6 to 1.0 N·m for 9 mm screw caps on glass vials. Above 1.2 N·m you risk neck cracking and cap distortion. Below 0.4 N·m the septum does not seal.
- Start the cap by hand for two turns before using a capper. This alone eliminates most cross-threading on manual workflows.
- Use a torque-limiting capper or a calibrated torque wrench on robotic cappers, and verify torque every 200 caps.
- Inspect the vial neck finish. A chipped or out-of-round neck will cross-thread no matter what you do. Reject vials with visible neck defects at incoming inspection.
- For autosampler use, prefer 9 mm screw thread over crimp if your platform supports both. Screw caps are more consistent on robotic systems and easier to reseal.
Failure 4: adsorption and sample loss on glass
What it looks like
Low-concentration analytes disappear. Recovery drops from 95% to 60% on a compound that worked fine last month. The effect is worst for hydrophobic peptides, basic drugs, and anything at the low ng/ml level.
Root cause
Borosilicate glass has silanol groups on its surface that adsorb basic compounds and some proteins. The effect scales with surface area and contact time, and it is worst with small volumes because the surface-to-volume ratio is high. A 2ml vial filled with 0.2 ml has a much higher surface exposure per microliter than one filled with 1.5 ml.
The second cause is the septum. Silicone absorbs hydrophobic compounds, and a soft silicone septum in contact with the sample will pull analyte out of solution. PTFE-faced septa reduce this because the sample only touches the PTFE.
Prevention, with numbers
- For basic compounds at low concentration, use deactivated glass vials. They cost more but recover 90%+ where untreated glass may give 60 to 70%.
- Use PTFE-faced septa for hydrophobic analytes. The PTFE facing is inert and does not absorb.
- Keep fill volume above 50% of vial capacity where possible. A 1.0 ml fill in a 2ml vial is a reasonable minimum for adsorption-sensitive methods.
- Run a recovery check: spike a low-concentration standard into three vials, hold 24 hours, and compare against a fresh injection. A drop above 10% means adsorption is a problem.
- For proteins and peptides, consider low-bind or silanized vials. Standard glass is not the right choice for these matrices.
Failure 5: contamination and carryover
What it looks like
Ghost peaks in blanks. Carryover above 0.1% on the next injection. A visible residue in the vial after washing.
Root cause
Contamination comes from three places: the vial itself (residual manufacturing oils or particulates), the cap (septum fragments or lubricant), and the handling environment (dust, glove residue, lab air). Carryover is different: it is sample left in the vial from a previous use or from the autosampler needle wash.
Prevention, with numbers
- Buy certified clean vials with a documented particulate count and no detectable manufacturing residue. Ask for the certificate of analysis.
- Do not reuse vials for trace analysis. A single-use policy eliminates most carryover from the vial side.
- Rinse the autosampler needle with a solvent that matches the sample polarity. For reversed-phase methods, a 50:50 water:methanol wash is a reasonable default.
- Run a blank every 10 injections on a sequence, and a system suitability check at the start. Carryover above 0.1% of the previous peak area means you need to change the wash or the vial.
- Handle vials with powder-free gloves and keep the tray covered when not in use.
Failure 6: thermal and light degradation during storage
What it looks like
Sample degrades between preparation and injection. Peak area drops over a long sequence. A compound that is stable at the bench is not stable in the autosampler tray.
Root cause
Temperature and light. A standard 2ml vial is not a storage container; it is a sample handling container. Borosilicate glass transmits UV, and amber glass only blocks part of the visible range. Autosampler trays at 25 °C are not refrigerated, and a 12-hour sequence at room temperature is enough to degrade many compounds.
Prevention, with numbers
- Use amber vials for light-sensitive compounds. Amber glass blocks most UV below 400 nm but not all visible light, so keep the tray covered.
- Set the autosampler tray to 4 to 10 °C for unstable samples. Verify the tray actually holds that temperature with a data logger, not just the setpoint.
- Keep total time on the tray under the compound’s validated stability window. If your method requires 24 hours, validate stability at 24 hours, not 4.
- For long-term storage, use a vial with a PTFE-lined cap and store at -20 °C or below. Do not store in a frost-free freezer with temperature cycling.
Failure 7: autosampler tray jams and dimensional issues
What it looks like
The autosampler grabs two vials, drops one, or fails to pick up a vial. The run aborts. The lab blames the instrument.
Root cause
Vial diameter and height out of tolerance, or a cap that is not seated flat. A 12 x 32 mm vial with a 0.3 mm diameter variance will jam in a tight tray. A cap that sits 0.5 mm high will catch on the gripper.
Prevention, with numbers
- Specify 12.0 ± 0.2 mm diameter and 32.0 ± 0.3 mm height at incoming inspection. Reject lots outside that window.
- Check cap seating: the cap should sit flat with no visible gap at the vial shoulder.
- Use the tray insert designed for your vial type. Universal trays are more tolerant but less precise.
- Do a first-article check: load 10 vials into the tray and run a dry cycle before committing a full sequence.
Comparison: which vial and cap for which use case
Here is the decision table I use. Numbers are working targets, not absolutes; validate against your method.
| Use case | Vial | Seal | Key number |
|---|---|---|---|
| Routine HPLC, stable analytes | Clear glass, 12 x 32 mm | 11 mm crimp, PTFE/silicone | Crimp height 5.5 to 6.0 mm |
| LC-MS, low concentration | Deactivated glass | 9 mm screw, pre-slit PTFE | Torque 0.6 to 1.0 N·m |
| Light-sensitive compounds | Amber glass | 11 mm crimp, PTFE-faced | Store at 4 to 10 °C on tray |
| Long sequences (>100 injections) | Clear glass | Pre-slit septum, screw cap | Under 100 punctures per septum |
| Sample storage, short term | Clear or amber, PTFE-lined cap | 11 mm crimp | -20 °C, no temperature cycling |
| Robotic capping | 9 mm screw thread | Torque-limited capper | Verify torque every 200 caps |
Incoming inspection: the checklist that catches most failures
Most of the failures above can be caught before the vial reaches the autosampler. This is the checklist I use for incoming lots. It takes about 30 minutes per lot and has saved me more failed sequences than any other single practice.
- Dimensions: measure 10 vials for diameter (12.0 ± 0.2 mm) and height (32.0 ± 0.3 mm). Reject the lot if more than one vial is out.
- Neck finish: inspect for chips, out-of-round necks, and thread defects under a loupe.
- Septum: check thickness (typically 1.0 mm for standard, 0.9 to 1.1 mm acceptable) and durometer if you have a gauge. Confirm PTFE facing is bonded, not loose.
- Crimp or torque check: crimp 10 vials and measure crimp height; or cap 10 vials and check torque with a gauge.
- Leak test: fill 10 vials with 1.0 ml water, seal, hold at 40 °C for 24 hours, and weigh. Loss above 1% fails the lot.
- Blank injection: inject a blank from three vials and check for ghost peaks above the method’s detection limit.
- Recovery check: spike a low-concentration standard and compare recovery against a reference vial. Below 90% recovery flags an adsorption problem.
If you buy from a distributor that cannot supply a certificate of analysis with dimensions, septum durometer, and particulate data, find another distributor. The chromatography supplier directory at chromatographysupplier.com is a reasonable place to start cross-referencing suppliers that publish this data.
Operational precautions that prevent most failures
At the bench
- Use a fresh cap for every seal. Never re-crimp or re-use a screw cap on a trace analysis method.
- Keep the crimper calibrated and the jaws clean. A dirty jaw produces an off-center crimp.
- Fill vials to a consistent volume. A 1.0 ml fill in a 2ml vial is a good default for autosampler work.
- Cap vials immediately after filling. An open vial on the bench picks up dust and evaporates.
On the autosampler
- Set injection depth 1 to 2 mm above the bottom.
- Keep the tray covered and, if the method allows, cooled to 4 to 10 °C.
- Run a blank every 10 injections and a system suitability check at the start.
- Track septum puncture counts per position and replace septa at 50 to 100 punctures for standard, 100 to 150 for pre-slit.
In storage
- Store at -20 °C or below for long-term, with a PTFE-lined cap.
- Avoid frost-free freezers with temperature cycling.
- Protect light-sensitive samples with amber vials and a covered tray.
- Label with fill date and compound; do not rely on memory.
When to specify a custom or OEM vial
Standard 12 x 32 mm vials cover most workflows. If you are running a validated method with a specific autosampler, or you need a non-standard neck geometry, a custom or OEM vial is worth the lead time. Specify dimensions to ±0.1 mm, septum durometer, cap material and temper, and the certificate of analysis you require. For regulated work, reference the applicable method: U.S. EPA SW-846 for environmental methods, and USP or ICH stability guidance for pharmaceutical work. Instrument vendors publish autosampler tray specifications that your vial must meet; Agilent’s chromatography consumables and columns documentation and Thermo Fisher’s chromatography and sample handling pages are useful references for tray and vial compatibility.
For method development and troubleshooting data, Restek technical resources publish practical guidance on septa, inlet liners, and sample handling that applies across platforms.
Troubleshooting checklist: symptom to cause to fix
- Ghost peaks in blank: contaminated vial or septum. Fix: switch to certified clean vials, run a blank from a fresh lot.
- Carryover above 0.1%: insufficient needle wash or reused vial. Fix: change wash solvent, use single-use vials.
- Evaporation or volume loss: bad crimp or loose cap. Fix: recalibrate crimper, check crimp height 5.5 to 6.0 mm, retorque screw caps to 0.6 to 1.0 N·m.
- Septum coring: wrong needle gauge or too many punctures. Fix: pre-slit septa, replace at 50 to 100 punctures, check needle sharpness.
- Low recovery: adsorption on glass or silicone. Fix: deactivated vials, PTFE-faced septa, fill above 50% capacity.
- Peak area drift on long sequence: thermal or light degradation. Fix: cool tray to 4 to 10 °C, amber vials, validate stability window.
- Tray jam: dimensional variance or high cap. Fix: incoming inspection at 12.0 ± 0.2 mm, check cap seating.
- Cross-threading: cap started at an angle or over-torque. Fix: hand-start two turns, torque-limiting capper.
Recommendation
If I had to reduce this to one recommendation, it is this: treat the 2ml vial, septum, and cap as a matched system, buy them from one supplier with a certificate of analysis, and measure the three numbers that matter. Crimp height 5.5 to 6.0 mm, screw cap torque 0.6 to 1.0 N·m, and septum puncture count under 50 to 100 for standard silicone or 100 to 150 for pre-slit. Add a 30-minute incoming inspection per lot and a 24-hour gravimetric leak check, and you will catch most of the failures in this article before they reach the autosampler. The rest is discipline: fresh caps, consistent fill volume, covered and cooled trays, and a blank every 10 injections. None of it is expensive. All of it is cheaper than a failed sequence at 2 a.m.
References & further reading
Related resources from our lab consumables network:
- 2Ml Vial at 2mlsamplevial.com
- Hplc Consumables at hplcconsumable.com
- Chromatography Supplier at chromatographysupplier.com
- Oem Vial at oemsamplevials.com
External references and standards: